Saturday, November 19, 2011

Two necklaces worn three ways for the holidays!

Do you have certain necklaces that you never wear? I do so I decided to take a gold chain and a pearl necklace I could wear separately, but wanted to combine them into a third necklace I could wear for the holidays and beyond. I found a cool vintage rhinestone belt buckle that would help me combine these two necklaces. Below is the finished project. Scroll down to see how it was made!

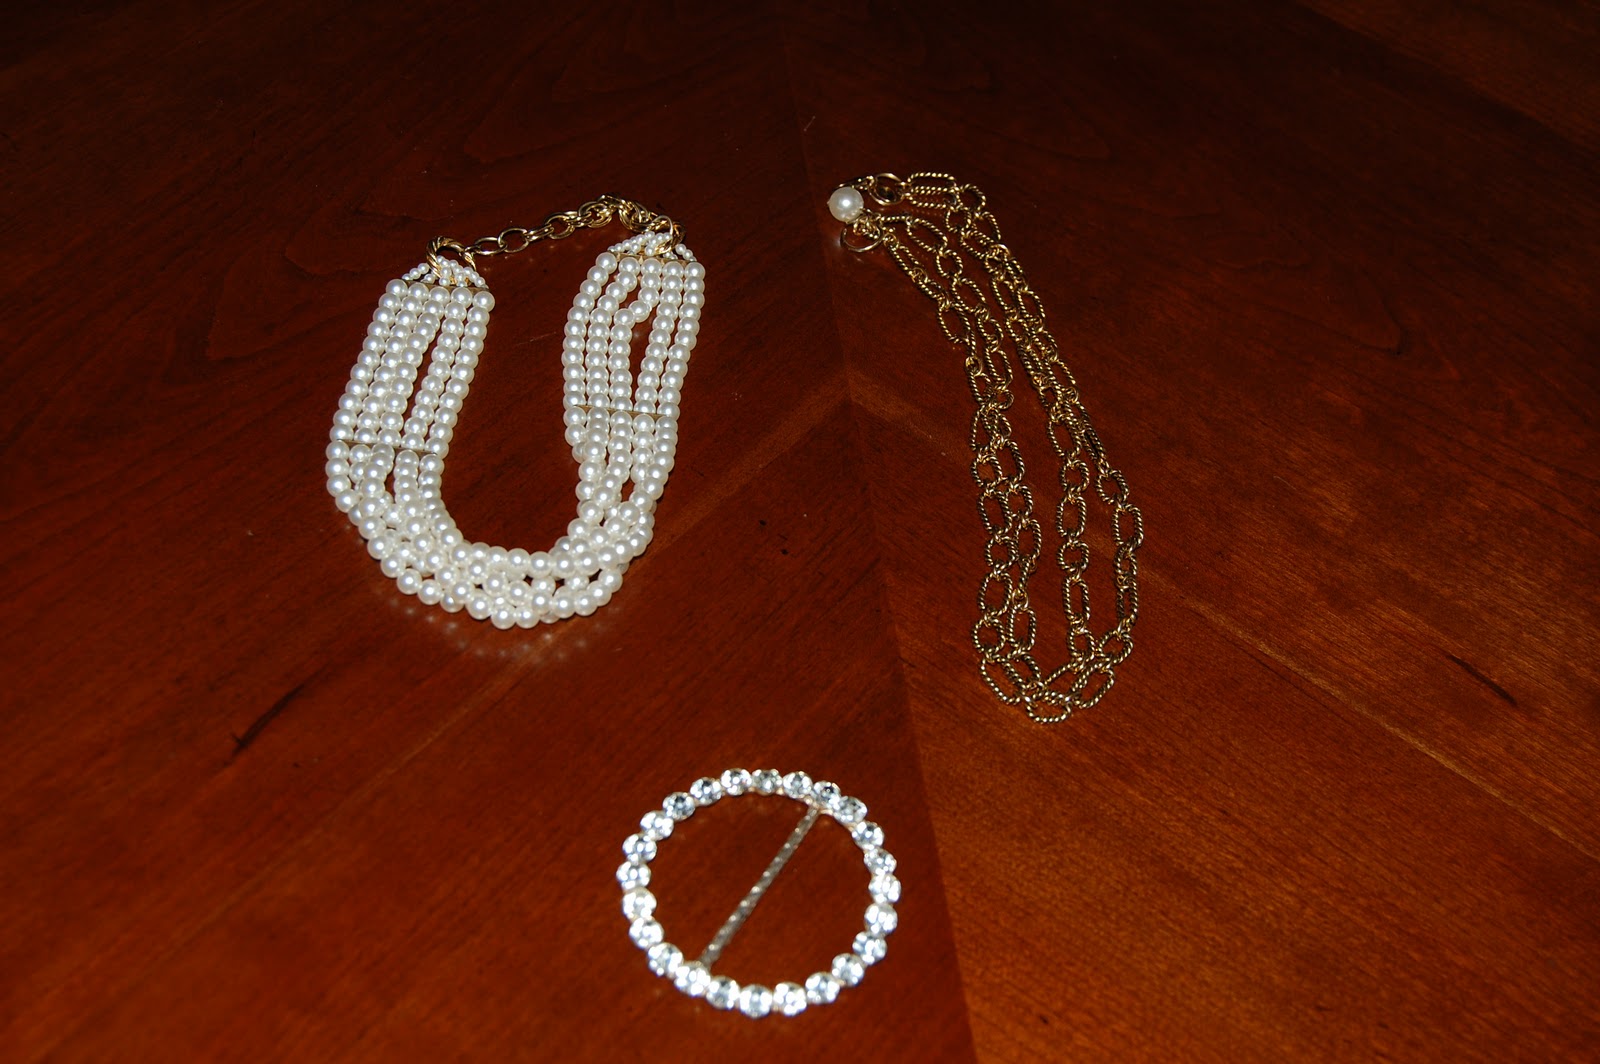
Above are the pieces I started with.

Next I found grey ribbon at my local craft store and a rhinestone charm that I wanted to use to make an interesting barrette that I could wear in my hair or attach to the necklace when I wanted to glam it up.

Above you can see the tools needed.

I'm making a flower barrette to add to my necklace. Sew the ribbon in a circle kind of like a pinwheel. It doesn't have to be perfect!

I sewed a rhinestone in the center of the ribbon flower.

I put hot glue on the top side of a barrette finding from a craft store and attached the flower I just made
Below you see it worn as a barrette.

Below you can see how I clipped it onto the vintage rhinestone belt buckle and connected the gold chain and the pearl necklace to to the belt buckle and made a really glam holiday necklace I can wear long, or I can wrap it and wear it short! Super quick project! It took less than 30 minutes!

Silk scarf, menswear fabric and a vintage Paris postcard transformed into a cool handbag!

I admit this DIY handbag project is not for the faint at heart! I made this several years ago and decided I am not a handbag designer! But I still think it is pretty cool!

I took apart a vintage purse and used the old pattern as my template.

I found a pretty floral silk scarf and used that as my front. I scanned in a vintage Paris postcard into the computer and printed it out onto an iron on transfer material. I ironed the picture very carefully onto the silk scarf. I signed my name on the front.

For the back I used a black striped fabric (menswear look).

I sewed it together and attached tot he clasp which was the challenging part! Not only does it get a lot of attention, it looks really cool just hanging on the wall.


Thursday, November 17, 2011

Gold bangle bracelets made into a holiday statement necklace!

Take a stack of bangle bracelets, grab some small gold jump rings found at a craft store, a gold chain and two small pliers.

Attach the gold bracelets to the gold chain using the pliers and gold jump rings.

Now you have a bold statement necklace to add to your favorite outfit!

Holiday Fashion upcycled evening gown becomes a glitzy party top!

 I found this evening gown at a second hand store for $8.99. I loved the silver sparkly top part of the dress, but I don't wear mock turtle neck style tops and the dress was too small, but I thought it would be a cute holiday top to wear to a party! I simply cut the dress to the length I wanted it and put it on backwards so the zipper is in the front! I love the new look! Super easy GLAM fashion! Can be worn sleeveless or with a jacket/cardigan for daytime or more casual dressy look.


Now this is a glitzy top I can wear more often than an evening gown that would sit in the closet! Only $8.99!


DIY winter white cable knit sweater upcycled into 4 holiday design ideas

Start with a sweater you can't use anymore. I found this one for $4.99 at a second hand store. Cut pieces as shown.
1. Using different size bottles, slip the cut sweater on and arrange! You have a set of three winter white cable knit vases to display throughout the winter! Total cost less than $5.00

2. Using the largest part of the sweater, use to cover a large flower pot and fill with your favorite greenery or holiday lights! No cost, used and existing flower pot.


3. Cut the cowl neck portion off the sweater, Using strings of yarn tie knots across the front to create a cool fringe infinity scarf! Total cost $5.00 for the yarn.


Above is a Pottery Barn winter white sweater pillow cover that costs $59, and that is just for the cover! You still have to buy the pillow insert!

Below you will see how you can make a very similar pillow with the upcycled sweater, a pillow insert you already have and some embroidery thread and needle! Super easy! Just insert the pillow and sew the ends! Cost a few dollars!

Add finished pillow to your sofa and you have a warm cozy look for the holidays!